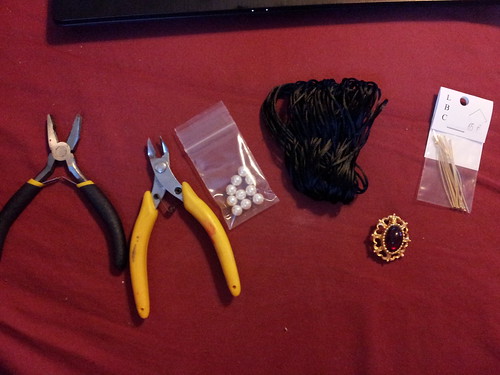
I have no experience with making jewelry, nor do I have any intention of taking it up. This piece is intended to do until such time as I have the money to buy the real thing; consequently, I've done very little research into how to assemble it. It just needs to look right.
So. I inserted head pins through the pearl drops. (Plastic pearls, because the shop doesn't sell real pearls that were big enough.)

Then I started wrapping the head pin through the curlies of the brooch. I'd intended to use jump rings, but the ones I got were too small to fit around the bits of the brooch. This would have been easier if I could remember what I did with my needle-nose pliers, but hey, it worked.
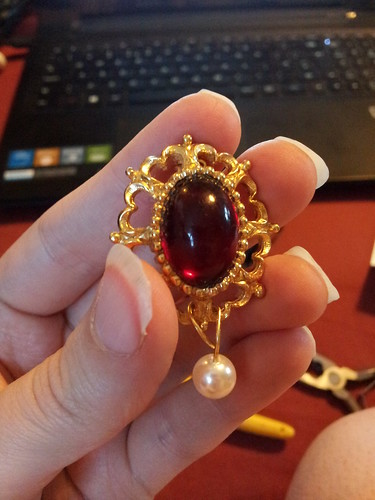
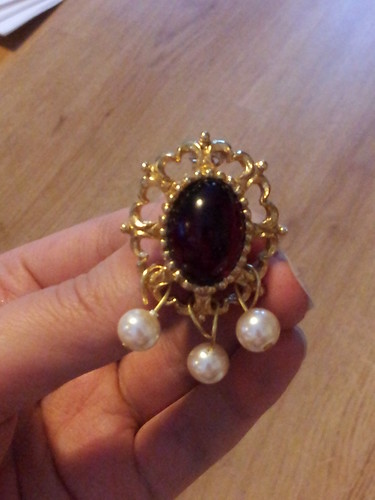
The first one was a bugger to get into place because I left the pin on the back of the brooch. The other two were not nearly so fiddly. I used my trusty Warhammer clippers to trim the head pins off after they'd been attached.
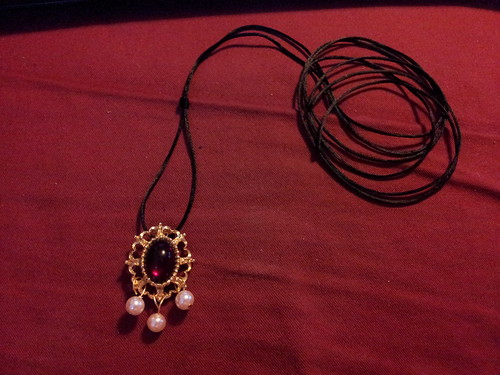
I got enough of the cord to use for the necklace too, and I think it looks rather well!
No comments:
Post a Comment