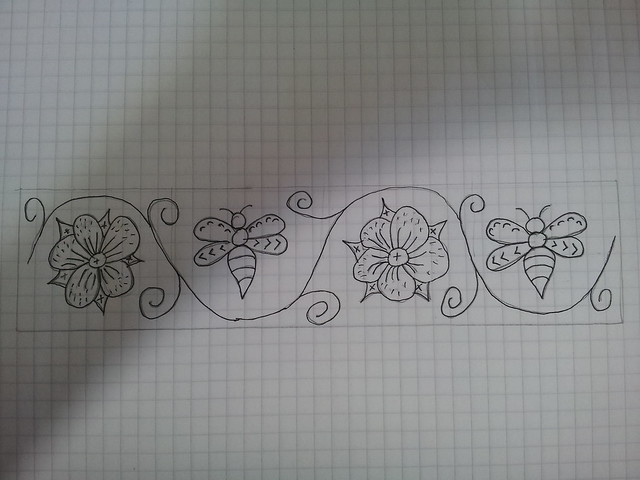
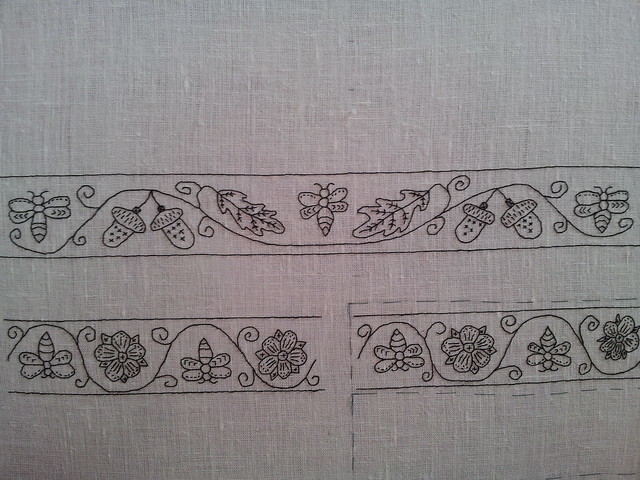
The first part of the process was designing the embroidery. I decided to base my design on the original embroidery of the shirt, albeit not as densely stitched because my fabric was coarser. I ended up with bees and roses for the cuffs:
and bees and acorns for the collar:

The bees are from his heraldic device, and the acorns are the emblem of a service award he holds. The vines and leaves are also based on the original embroidery.
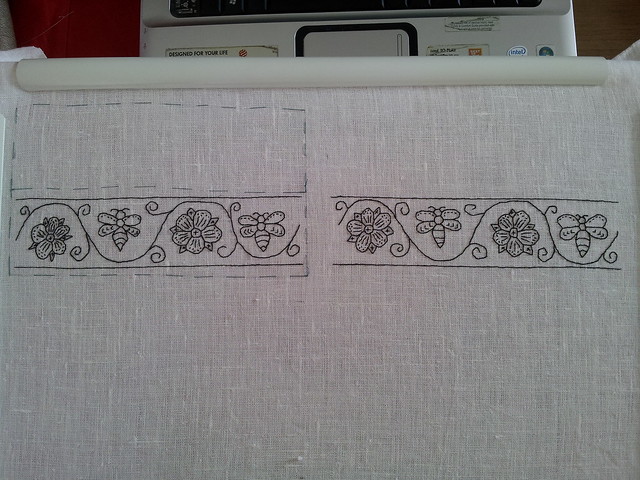
I drew the pattern up actual size and then transferred it to my fabric by the very professional method of holding it up to the window and drawing it. It worked reasonably well, but I really want to get a lightbox for future projects.
I tacked the full cuff outline onto the fabric before I started embroidering the first cuff, just to ensure I didn't forget my seam allowances. (I did all of the embroidery on a single piece of fabric in a q-snap frame, and then cut it out afterwards.
Things were going great, right up until I ran out of black embroidery floss:

Seriously, who runs out of black embroidery floss? Me, that's who. Still, I went to the shop the next day, and finished all the embroidery that evening.
I don't have any photos of the next phase, but I hemmed the bottom edges of the body fabric so they wouldn't fray horribly. The sleeves went onto the shoulders next; I just used running stitch. After that I put the underarm gussets in and sewed up the arm and side seams. That process was slightly more complicated than I'd anticipated, because Patterns of Fashion doesn't seem to mention anywhere how far open the sleeves were below the cuff, or even if they were at all. Going by the cuff measurements I concluded that they had to be, otherwise you'd never get your hand through. And after some digging on the internet, I found the Flickr album of a person who had been to the Museum of Fashion and taken lots of lovely photos of the shirt, including one where you could see the slit below the cuff. No measurements, but knowing the length of the sleeve allowed me to guesstimate. This is what I ended up with:
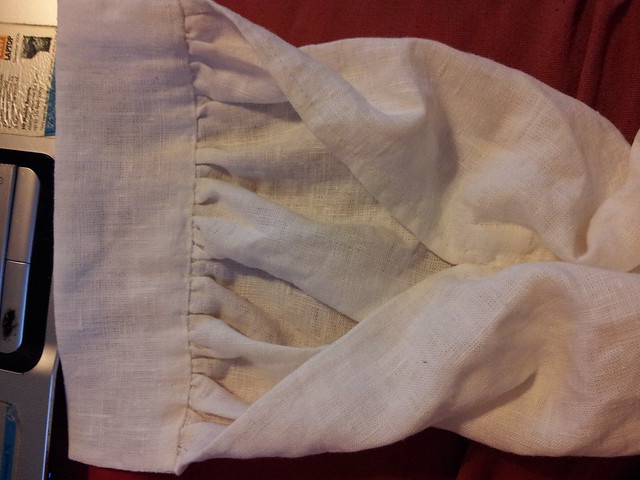
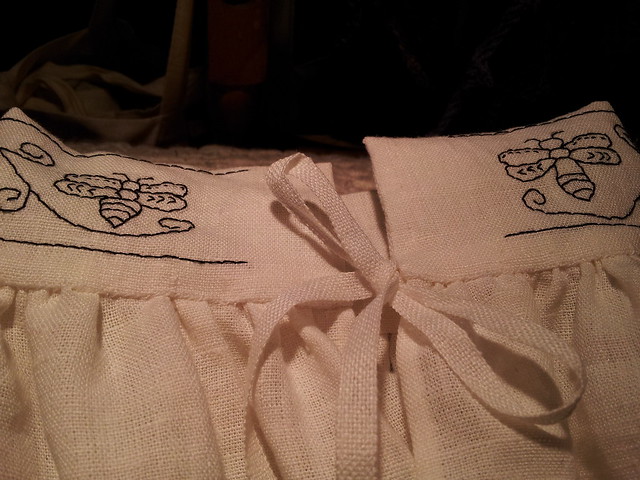
I hemmed the open edges of the slits before putting the cuffs on. Incidentally, gathering a sleeve into a cuff is a pain and requires approximately one million pins. I'm going to need a lot more practice, but I think this went well for a first attempt.
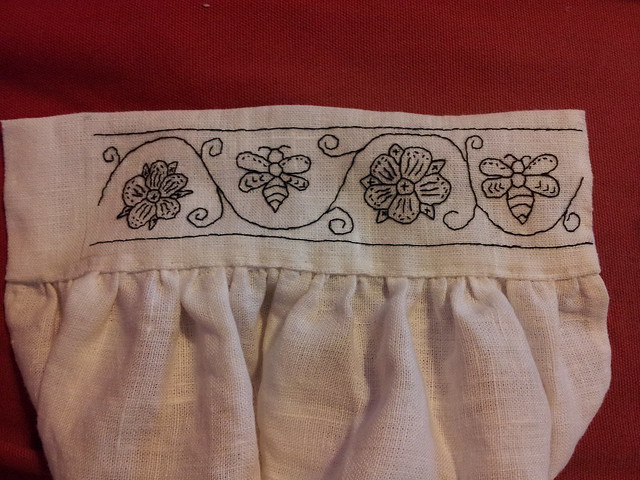
In the above photo you can see a classic example of why it's important to double-check your measurements before you do your embroidery layout. The blackwork ought to go all the way out to the edge, but I screwed it up. Ah well. It is at least symmetrically wrong, and the collar isn't nearly so bad.
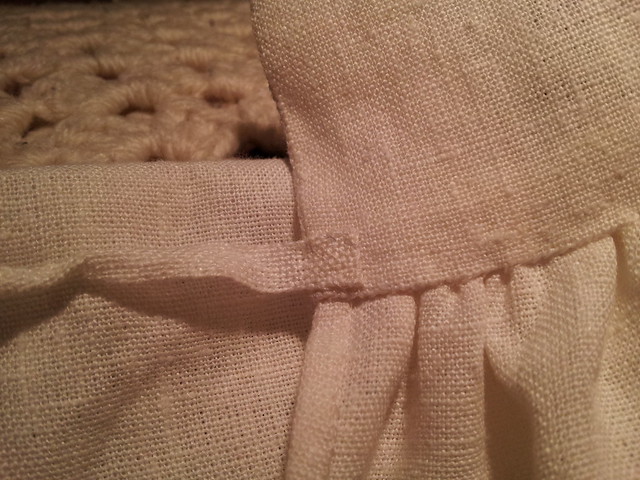
At this point, I decided to get as many of the inside seams finished as I could before starting to work on the collar. The original shirt had run and fell seams, so that's what I did too. Here's the finished underarm gusset, made possible by a Pinterest tutorial on felling underarm gussets that Lady C sent me.
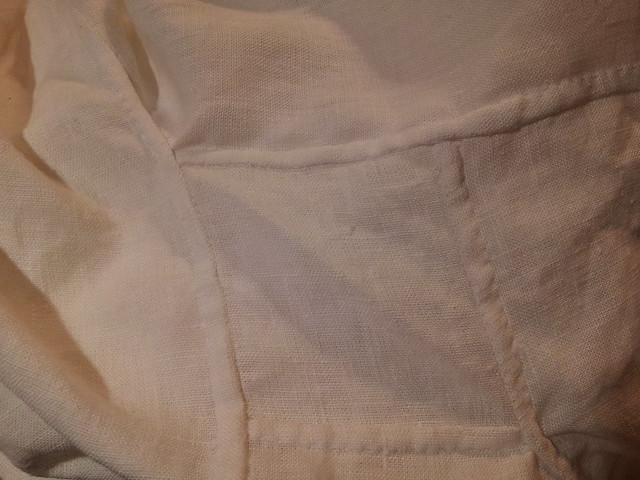
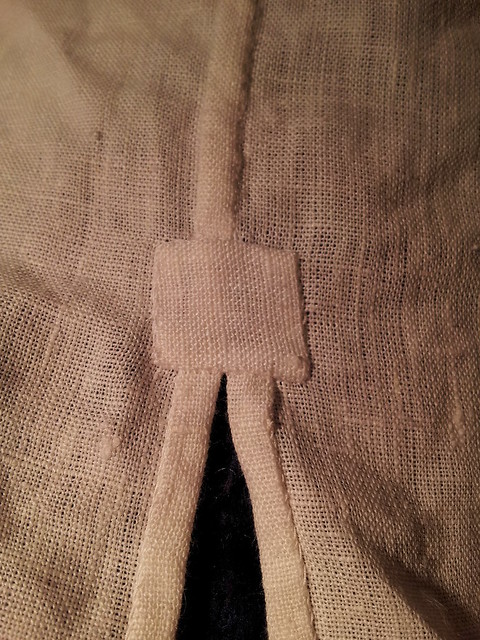
I've never done felled seams before, but I'm very happy with how they turned out. Next up was cutting the collar opening. Again, no photos, but I had tacked across the shoulder "seam" so that everything would be in the right place. Cut across the shoulders and then down the front to form a slit. I hemmed the sides of those next, before gathering the opening into the collar. This was unexpectedly tricky, because you're left with no fabric at the bottom of the curve to turn into the hem. Again, I am really pleased with how this turned out.
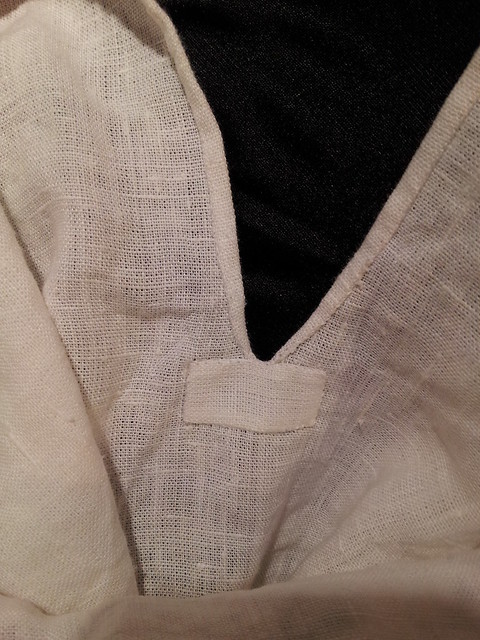
The rectangle at the bottom of the slit is a reinforcing patch. The original shirt had them at the tops of the hip slits. I've also put them in here at the neck and on both wrists. The original shirt tore and was mended at the neck, and Himself has historically ripped out the wrists of his shirts, so I decided to put in a little extra work for caution's sake. The patches also have the bonus of covering the slightly unattractive point where hem turns into seam.
Once all the seams were done and reinforced, I had to suck it up and do the gathers for the collar. Instead of running a single thread across the full length, I started in the centre back and ran threads out to both sides. This made it a lot easier to get the gathers evenly distributed, and also meant that I was able to centre the collar properly. I think the next time I'll do three lines of gathering stitches instead of two, as some of the gathers got a little lumpy.
I managed to find a lady (at WorldCon of all places) selling 8mm linen tape. The original tapes were 6mm, but seriously, who's going to quibble over 2mm? I bought 5 yards of the stuff, so should be well stocked for the next few shirts. As in the original, I sewed them to the inside of the collar and cuffs:
though I think next time I'll enclose the ends inside the cuff. It looks better and I think is more secure.
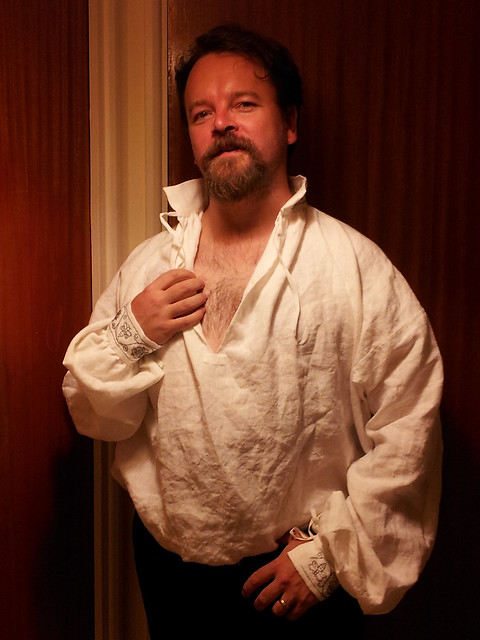
The finished shirt is very long.
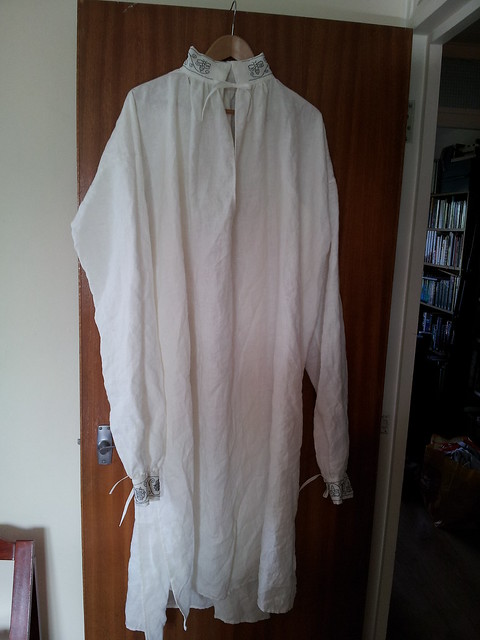
It's designed to be that way, though. When worn properly it gets tucked into the gentleman's trousers:
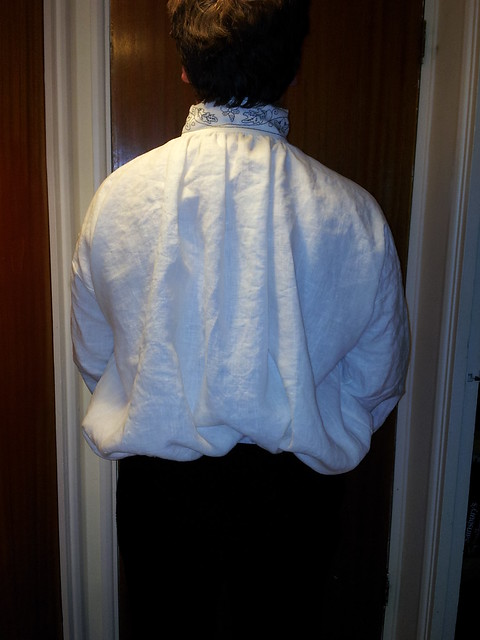
It should also have a doublet over the top of it. Without, though, it gives one a marvelous chance to pretend to be on the cover of a bodice-ripper: