Friday, 17 April 2015

Further sock mathery

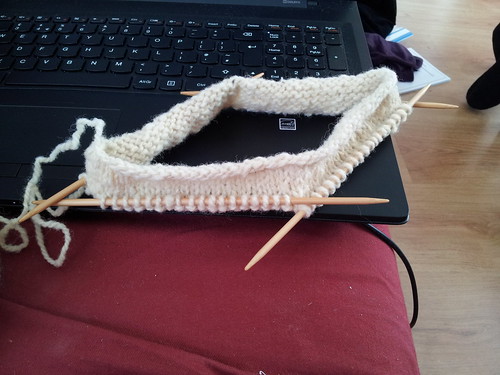
Actual gauge with this needle/yarn combo is 4 stitches per inch, not 5. If this were a regular pair of socks I'd rip it out and cast on again, but since these are thigh-highs I can just pull them farther up the leg until they fit properly.

By the time I get to the bottom of the calf muscle I need to be down to 28 stitches. The length from thigh to calf is 16 inches. Decreasing 52 stitches over 16 inches means I need to decrease three stitches every inch plus 4 stitches somewhere.

Vertical gauge is 6 rounds per inch. So basically I need to decrease one stitch every other round. However, I've already knit an inch of the sock plain. (I'm not doing ribbing at the top because I'll be wearing garters and the top of the socks will be fastened under my trousers anyway.) I also want to do the four extra decreases towards the top of the leg because that's where the sharpest decreases in the shape of my leg happen. Something resembling Real Knitting Instructions:

  • Cast on 80 stitches. Distribute onto four needles and join for knitting in the round, being careful not to twist.
  • Knit six rounds plain.
  • Decrease one stitch every round for 14 rounds in a column at the back of the leg. 66 stitches remain. Redistribute stitches evenly across needles.
  • Starting with a plain row, decrease one stitch every other round in the same column until 28 stitches remain. Redistribute stitches evenly as necessary.
  • Knit plain until you reach the ankle bone.

Further instructions will follow once I decide what sort of heel I'm doing.


Thursday, 16 April 2015

Next up: nether hose

Now that the shirt is out of the way, I need to get on with the next piece of my Tudor shooting outfit. This will be a pair of knitted nether hose, which are basically over-the-knee-socks. You see fancy silk ones from the middle of the 16th century, but there's evidence of woolly ones being worn earlier.

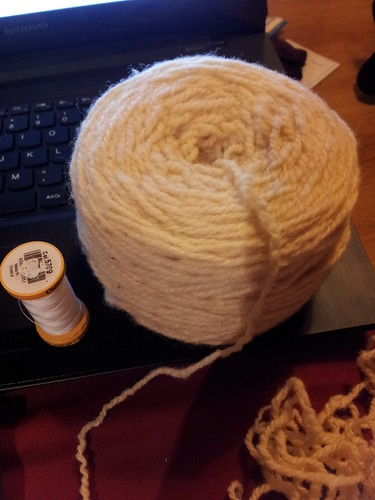
I have a stash of ancient handspun yarn from Bulgaria. (I have this vague memory that my parents bought it for my grandmother shortly after we moved there more than 20 years ago.)


It's a bit heavier than I'd usually do socks - aran rather than fingering - but it's lovely crunchy wool and should knit up beautifully. Also way faster than doing fingering-weight thigh-highs. Additionally, these are hose for wearing outdoors doing archery. I want them to keep my legs warm!

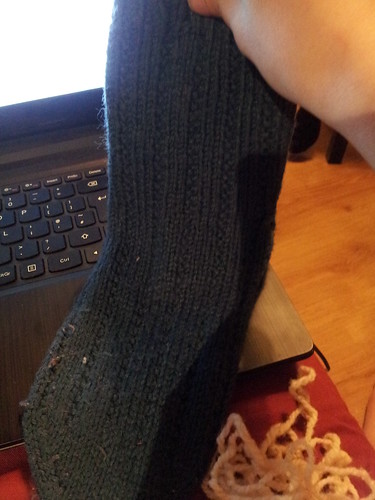
I'd do a gauge swatch, but I conveniently have a pair of bedsocks I knit up for the Spouse a few years ago in a similar weight.


Gauge is 5 stitches per inch on 4mm needles. The bit of my thigh I want the top to encompass is 18 inches, but it needs to fit snugly in order to stay up. Fortunately, there's a splendid worksheet online to help with calculating how big around the stocking needs to be. I'm going top-down rather than toe-up because of personal preference. It's a generic sock, not something fancy.

Plugging my gauge into the worksheet comes out at 81 stitches; I'm working with 5 needles, so I'll cast on 80 to make the numbers easier to deal with. Then it'll just be stockinette with decreases all the way down.

Making a Tudor shirt, part 11 - finishing touches

Finally, the last few bits to finish off the shirt! This is a rather long post: inevitably, the little bits that finish things properly take the longest to do or describe.

The first thing to do is apply a reinforcing patch to the bottom of the neck slit. It's not strictly necessary, but given how many extant shirts show wear or damage at this point, it's worth preempting. There are also shirts that have this patch in place. First, cut a small patch of linen.
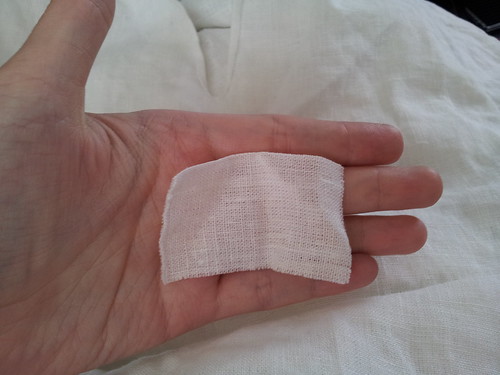


Then, fold the edges under. You can press it properly, but I just do it in hand.
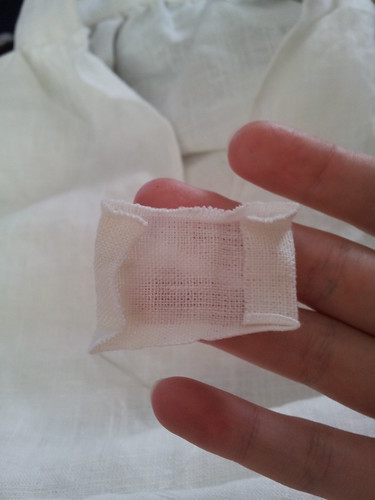


Next, pin it just below the base of the neck slit on the wrong side, with the edges underneath.
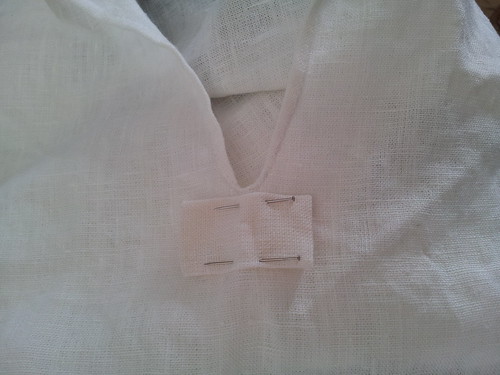


Finally, whipstitch the patch down. As with the hemming, take one thread from the shirt body and one from the patch so that it's as invisible as possible from the right side.

Inside


Outside


Next up is finishing the ends of the inside seams where the run into the hemmed edges of the shirt pieces. Start with the bottom of the shirt body. First, hem the side of the shirt that runs into the clipped side of the inside seam, running the hem past the bottom of the seam.
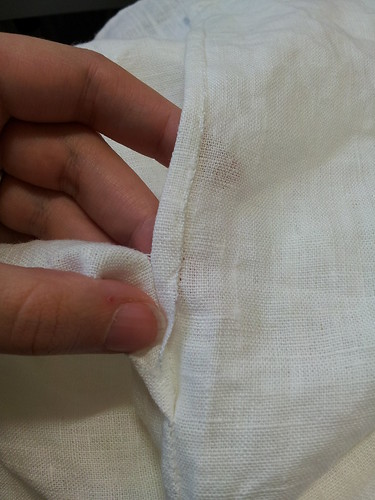


Then, make a small cut perpendicular to the length of the seam in the side that gets folded over. Cut almost to the seam, but not so close it rips out.
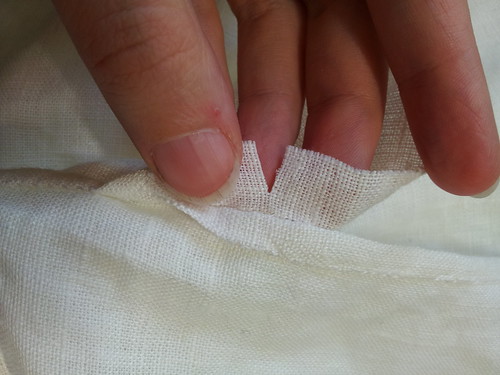


Tuck the edge that you've just cut around the clipped side and finish felling the inside seam all the way to the edge of the hem. Whipstitch around the raw edge of the cut so that it doesn't fray.


Then, hem the other side of the shirt all the way up, whipstitching the raw edge at the top in the same way.
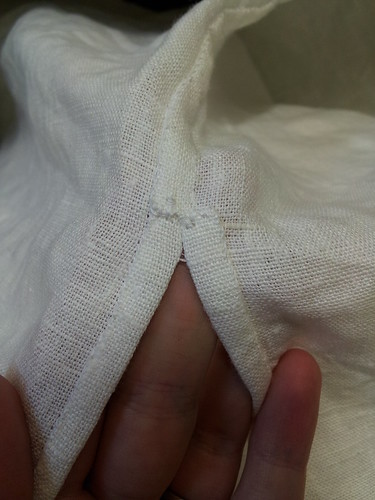


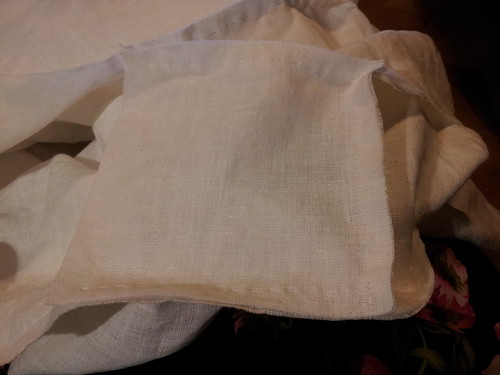
Finally, apply a patch in exactly the same way as you did with the neck slit. You could skip the patch, but putting one in does two things. First, it reinforces the bottom of the seam. (You can already see it pulling just from being handled during construction.) Second, it conceals the rather unattractive point where there are whipped raw edges.
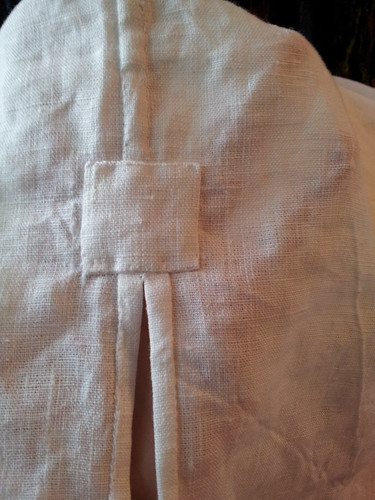


If you find you've clipped the inside seam allowance too close to the bottom of the seam (as I've done here), just extend the seam a stitch or two before you start the hemming process.
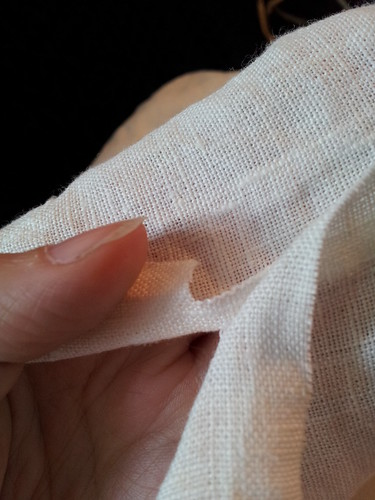


The next stage of finishing is dealing with the ends of the sleeves. This is basically the same process as dealing with the side openings, only you've already got the hems done. First, stick your hand through the sleeve hole and make sure it fits easily. If so, run the seam up to meet the bottom of the hemmed placket. If it's tight but usable, run the hem up to meet the base of the seam. If you can't get your hand through the opening at all, undo the end of the felling and open the seam until you can.

Apart from checking the size of the opening and adjusting as necessary, it's exactly the same as the sides. Run the ends of the hems up to just past the base of the seam, make a small cut so the seam allowance can lie flat, whipstitch the raw edges down, and sew a patch over the whole lot.
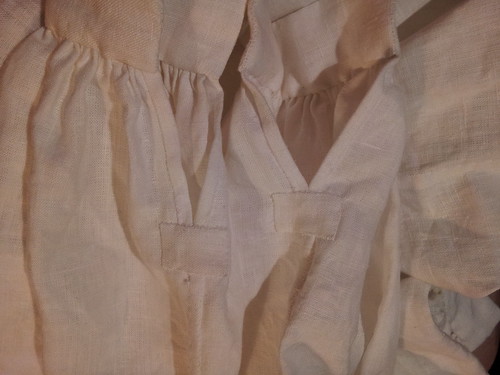


The very last stage of the making process is attaching ties to the collar and cuffs. You have a choice of two options for historically accurate ties - linen tape or thread cord. Many surviving shirts have ties made from twisted or braided or fingerloop cord made from the same thread as the embroidery. The other option, linen tape, is found with roughly the same frequency, although it's worth noting that on many shirts the ties have been lost or replaced. I use linen tape because it's less slippery than cord and therefore stays tied better.

Linen tape is essentially a very narrow  piece of linen fabric. It is NOT bias tape. I wouldn't really call it ribbon either - it's nowhere near as densely woven. It basically looks like the shirt fabric.
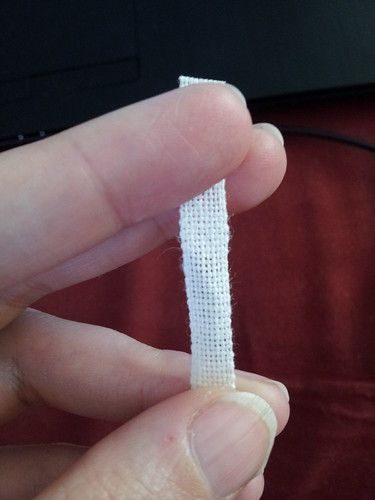


You can attach it in various places. The place where collar and cuffs join the shirt body is an option, as is the middle of the collar and cuffs. You can also attach multiple ties in each place.


There are surviving shirts with two ties (at the top and bottom) and three ties (top, middle, and bottom.) I'm going to put one tie in the middle of the collar and cuffs because I only have enough linen tape on hand to make six ties. They are just shy of 11 inches long because I just divided up the remaining tape into equal parts. You can make them longer or shorter as you prefer.

Start by folding over the end of the tape once.


Lay this on the cuff with the long dangly end pointing away from the cuff. The raw edge of the tape should be underneath.
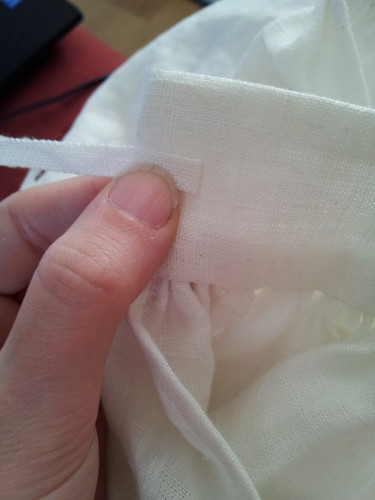


You can pin it in place, but I don't bother. Sew the tie to the cuff just as though you were hemming. Don't sew through all the layers of cuff fabric. Work from the corner of the folded edge to just past where the folded-under raw edge is.
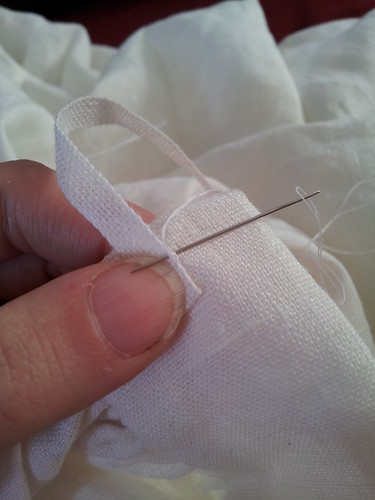


Flip the dangly edge of the tape back and whipstitch along the underside to attach it to the cuff. This should completely enclose the raw edge.


Then, finish sewing around the remaining sides of the attachment point, making sure the raw edge doesn't escape out the open side.
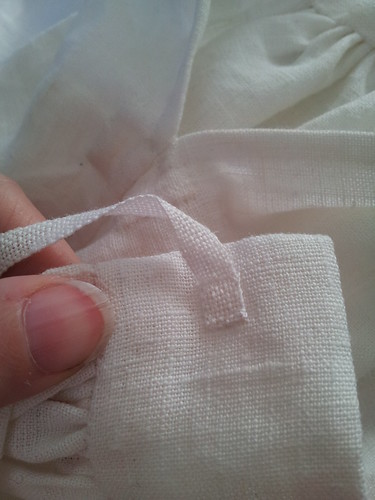


Finally, you need to hem the end of the dangly piece. Fold the end under twice so that the raw edge is completely enclosed. If you lay the tie out flat, the side that's just a smooth length should be towards the outside of the cuff.


Sew around the three open edges of the tie and finish off your thread.
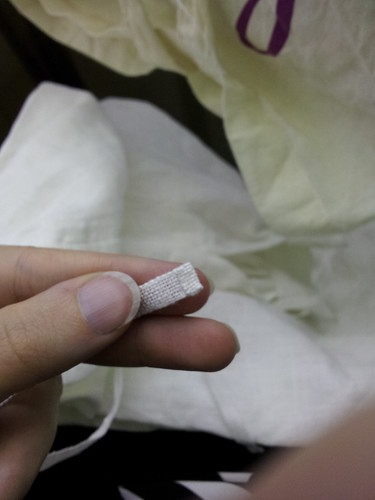


Repeat this process for all of your remaining ties, keeping the hems and attachment points the same size. Guess what? The shirt's finished!
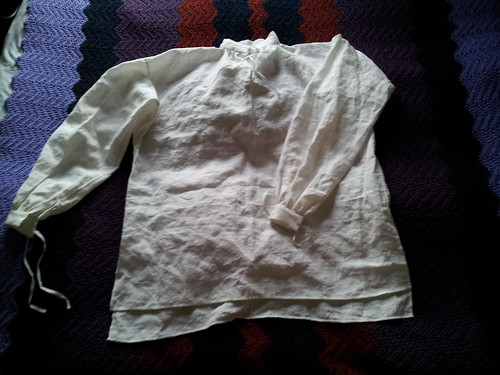
I'd advise pressing it before you wear it, mind.

Monday, 13 April 2015

Making a Tudor shirt, part 10 - inside seams

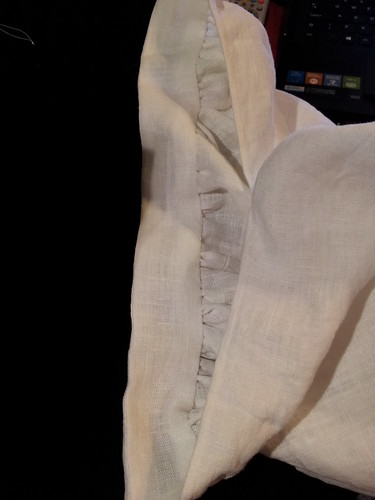
Before the shirt becomes a wearable garment, the inside seams all need to be finished. That means more felling, just like with the shoulder gussets. I'm going to cheat slightly for this step of the tutorial because there is a fabulous guide on felling the tricky bits of underarm gussets online. No point reinventing the wheel, especially when this is where I go to remind myself which order to do things in.

There are a couple of slight differences with what you need to do with the shirt, though. Before you start sewing, you need to press each seam towards the centre of the gusset. (You knew there would be more pressing, right?)

Then, clip the side of the seam allowance on the gusset side to a quarter of an inch.

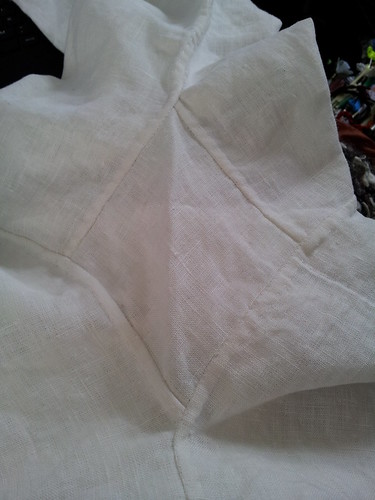
Finally, rather than leaving the full hem flat as in the picture, fold it under itself around the clipped part, just like the shoulder gussets. The finished gussets should look like this:


As with the seams, don't go right up to the hemmed plackets. Dealing with that part comes next.

Making a Tudor shirt, part 9 - assembly

At last, the part where the shirt becomes a shirt! At this point, you should have a shirt body with a finished neckline and collar, two sleeves with cuffs attached, and two gussets.


First, find the centre of the top of the first sleeve by folding it in half lengthwise. Line the centre point up with the marked shoulder line on the body of the shirt, right sides together.


Leaving a half-inch seam allowance, sew the sleeve onto the shirt body using running stitch. Then do the same thing with the other sleeve.


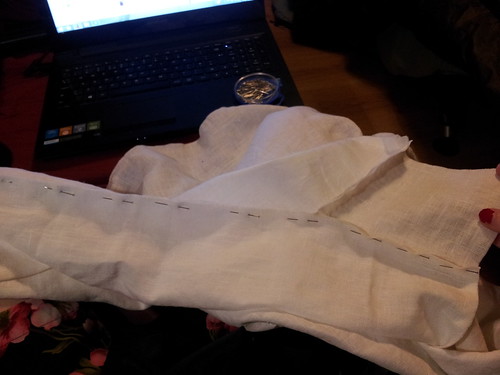
Next, you need to put the underarm gussets into place. First, leaving the same half-inch seam allowance and working with the shirt inside-out (that is, right sides together), sew one side of the gusset to the side of the sleeve next to the body and finish off your thread. It doesn't matter whether it's the front or the back of the sleeve.


Then, orient the gusset so that the adjacent side to the one just sewn is along the opposite side of the sleeve. It'll look like the corner of the gusset is pointing down the length of the sleeve.


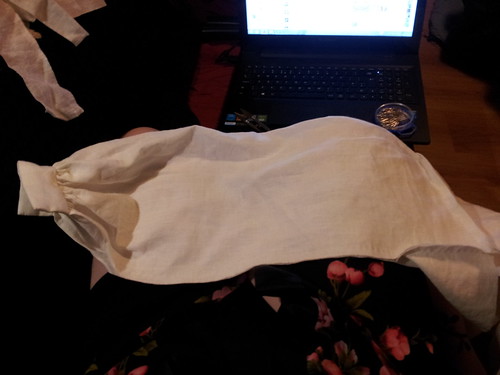
Then, starting at the end nearest the body, sew the second side of the gusset to the other side of the sleeve. This time, instead of finishing off the thread, continue along the length of the sleeve until you almost reach the hemmed ends of the placket. (Don't worry about where the seam runs into the hems, that part comes later.) You now have a sleeve that's a tube instead of a flat piece.


Return to the underarm area. Sew one of the remaining short sides of the gusset to the shirt body and fasten off your thread.


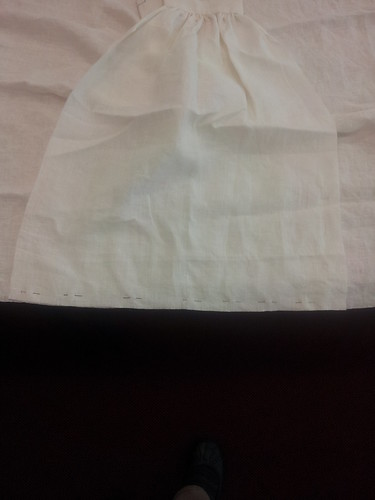
Finally, sew the last short side to the shirt body and continue down along the side seam. Again, the bottom of the gusset should point down the centre of the seam. The length of the seam depends on your body - it should be open from the middle of your hip to the bottom edge. I use the bottom edge of the side of my knickers as a point of measurement, but whatever works. You should be able to lift up the bottom of the shirt to use the facilities without having to fight with a tube of fabric.


Follow the same procedure to insert the gusset on the other side. You've now got something that looks like a shirt!


Resist the urge to turn it right-side out and try it on. Linen frays like nobody's business, and you'll need to finish the inside seams before you have a wearable garment. Next time, on the Knitting Fiend's Shirt Saga...

Wednesday, 1 April 2015

Making a Tudor shirt, part 8 - attaching the collar

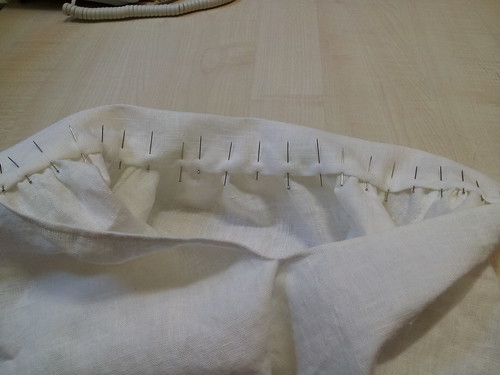
Once the neck gussets are in place, the next task is attaching the collar. In principle this is done in exactly the same manner as attaching the cuffs. There are some slight differences, though.

Instead of running an unbroken pair of gathering threads around the neck opening, I start in the centre back and run two pairs, one to either side. It makes it easier to distribute the gathers evenly. Once you've run the threads through, draw up the gathers until the neckline is the same length as the collar and tie the threads in place.


Mark the collar in the centre and then in quarters.


The quarter points are located in the centre of the neck gussets, so line the collar up and pin the inside into place. If you've embroidered the collar, this is the plain side.


Whipstitch the long bottom edge in place.


Pin the outside of the collar into position and whipstitch it into place, starting along one of the short sides.


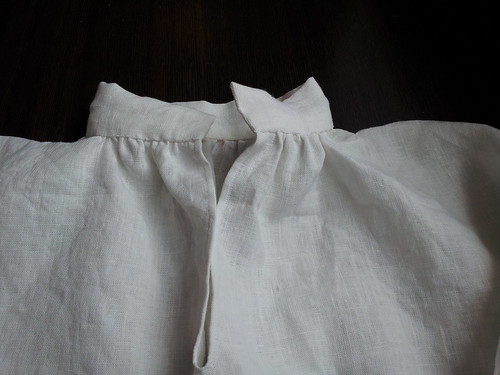
You've now finished the neck opening and collar of the shirt and consequently all the really fiddly bits. The rest of the shirt is just plain sewing.