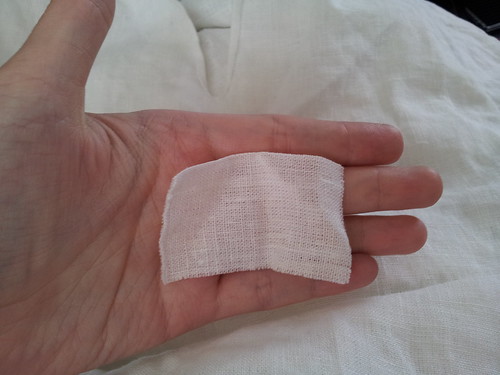
The first thing to do is apply a reinforcing patch to the bottom of the neck slit. It's not strictly necessary, but given how many extant shirts show wear or damage at this point, it's worth preempting. There are also shirts that have this patch in place. First, cut a small patch of linen.
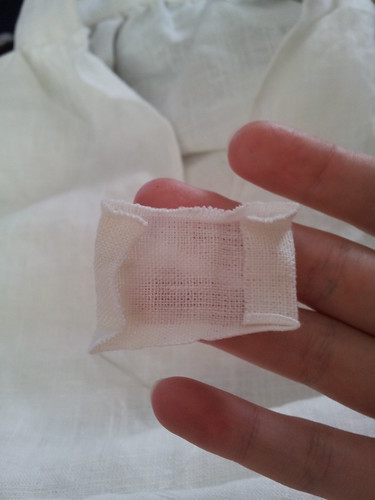
Then, fold the edges under. You can press it properly, but I just do it in hand.
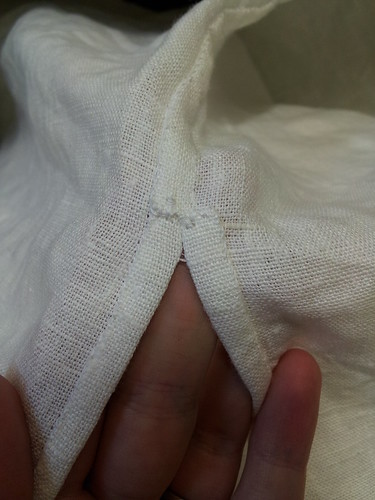
Next, pin it just below the base of the neck slit on the wrong side, with the edges underneath.
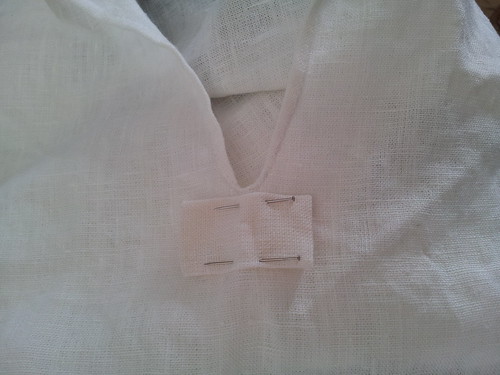
Finally, whipstitch the patch down. As with the hemming, take one thread from the shirt body and one from the patch so that it's as invisible as possible from the right side.
 |
| Inside |
 |
| Outside |
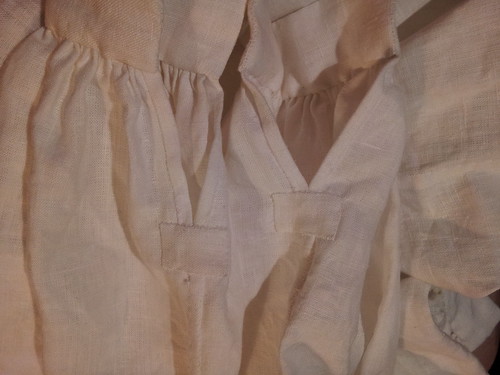
Next up is finishing the ends of the inside seams where the run into the hemmed edges of the shirt pieces. Start with the bottom of the shirt body. First, hem the side of the shirt that runs into the clipped side of the inside seam, running the hem past the bottom of the seam.

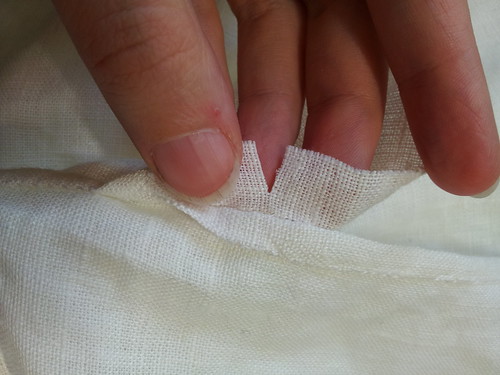
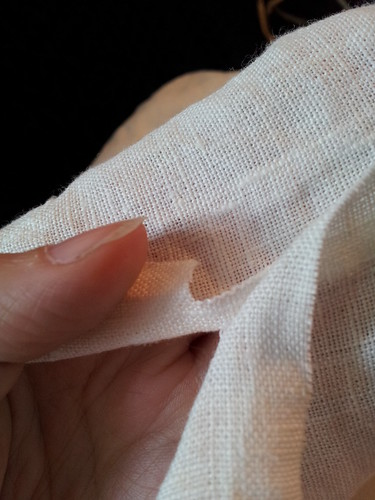
Then, make a small cut perpendicular to the length of the seam in the side that gets folded over. Cut almost to the seam, but not so close it rips out.
Tuck the edge that you've just cut around the clipped side and finish felling the inside seam all the way to the edge of the hem. Whipstitch around the raw edge of the cut so that it doesn't fray.

Then, hem the other side of the shirt all the way up, whipstitching the raw edge at the top in the same way.
Finally, apply a patch in exactly the same way as you did with the neck slit. You could skip the patch, but putting one in does two things. First, it reinforces the bottom of the seam. (You can already see it pulling just from being handled during construction.) Second, it conceals the rather unattractive point where there are whipped raw edges.
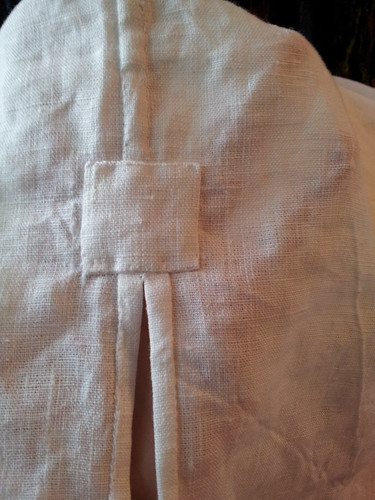
If you find you've clipped the inside seam allowance too close to the bottom of the seam (as I've done here), just extend the seam a stitch or two before you start the hemming process.
The next stage of finishing is dealing with the ends of the sleeves. This is basically the same process as dealing with the side openings, only you've already got the hems done. First, stick your hand through the sleeve hole and make sure it fits easily. If so, run the seam up to meet the bottom of the hemmed placket. If it's tight but usable, run the hem up to meet the base of the seam. If you can't get your hand through the opening at all, undo the end of the felling and open the seam until you can.
Apart from checking the size of the opening and adjusting as necessary, it's exactly the same as the sides. Run the ends of the hems up to just past the base of the seam, make a small cut so the seam allowance can lie flat, whipstitch the raw edges down, and sew a patch over the whole lot.
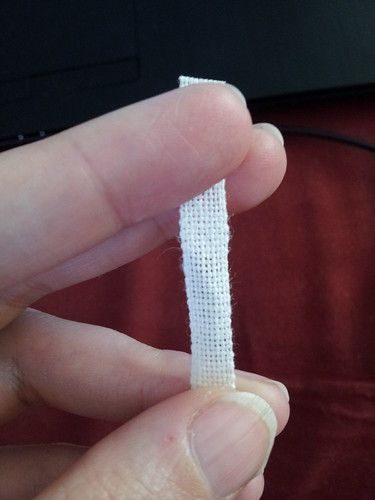
The very last stage of the making process is attaching ties to the collar and cuffs. You have a choice of two options for historically accurate ties - linen tape or thread cord. Many surviving shirts have ties made from twisted or braided or fingerloop cord made from the same thread as the embroidery. The other option, linen tape, is found with roughly the same frequency, although it's worth noting that on many shirts the ties have been lost or replaced. I use linen tape because it's less slippery than cord and therefore stays tied better.
Linen tape is essentially a very narrow piece of linen fabric. It is NOT bias tape. I wouldn't really call it ribbon either - it's nowhere near as densely woven. It basically looks like the shirt fabric.
You can attach it in various places. The place where collar and cuffs join the shirt body is an option, as is the middle of the collar and cuffs. You can also attach multiple ties in each place.

There are surviving shirts with two ties (at the top and bottom) and three ties (top, middle, and bottom.) I'm going to put one tie in the middle of the collar and cuffs because I only have enough linen tape on hand to make six ties. They are just shy of 11 inches long because I just divided up the remaining tape into equal parts. You can make them longer or shorter as you prefer.
Start by folding over the end of the tape once.

Lay this on the cuff with the long dangly end pointing away from the cuff. The raw edge of the tape should be underneath.
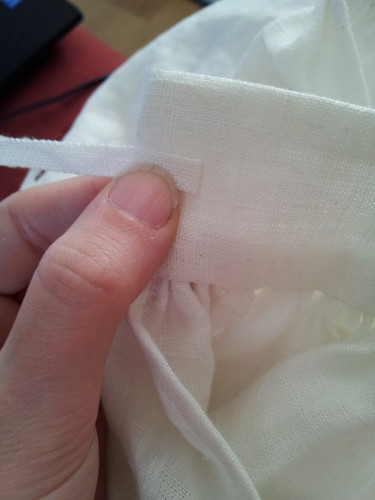
You can pin it in place, but I don't bother. Sew the tie to the cuff just as though you were hemming. Don't sew through all the layers of cuff fabric. Work from the corner of the folded edge to just past where the folded-under raw edge is.

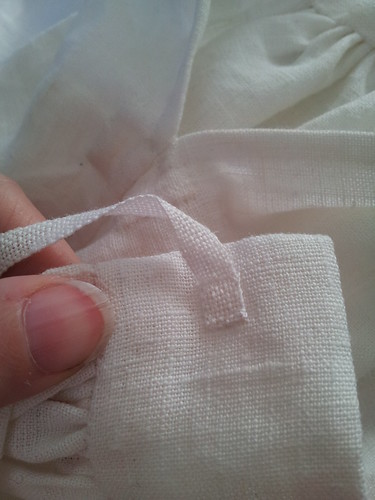
Flip the dangly edge of the tape back and whipstitch along the underside to attach it to the cuff. This should completely enclose the raw edge.

Then, finish sewing around the remaining sides of the attachment point, making sure the raw edge doesn't escape out the open side.
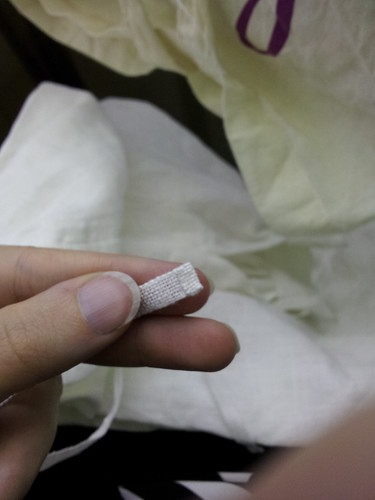
Finally, you need to hem the end of the dangly piece. Fold the end under twice so that the raw edge is completely enclosed. If you lay the tie out flat, the side that's just a smooth length should be towards the outside of the cuff.

Sew around the three open edges of the tie and finish off your thread.
Repeat this process for all of your remaining ties, keeping the hems and attachment points the same size. Guess what? The shirt's finished!
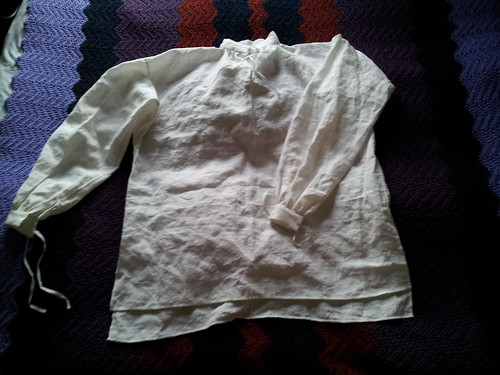 |
| I'd advise pressing it before you wear it, mind. |
No comments:
Post a Comment