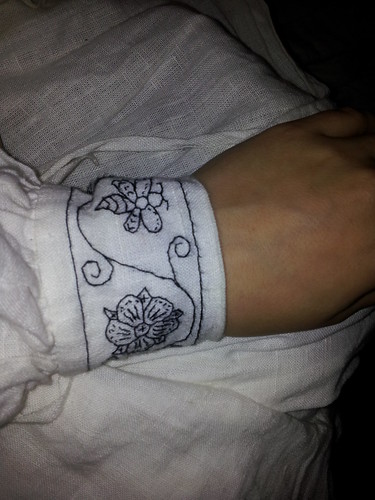
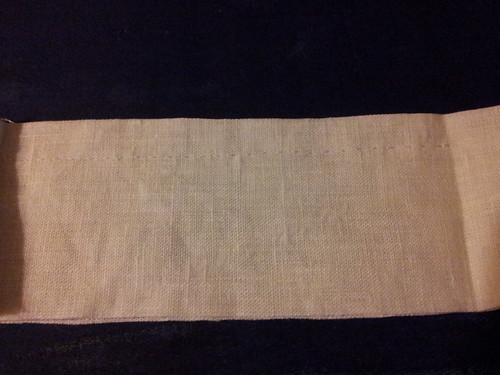
First, make sure you've finished any embroidery you want to put on.
Next, press the pieces. You want the edges to be perfectly straight, and it's MUCH easier if the fabric has been pressed first. If you've added embroidery, press it on a towel with the right side facing downwards. Cotton can be pressed at the same high temperature as the linen fabric, but if you're using silk you should turn the heat down when you're pressing over the embroidery.
Next, pair up the pieces of fabric. The right side of the embroidery should be in between the two pieces of fabric, because once you've sewn the first seam you'll be turning it over.
At this point you can pin the two pieces of fabric together so that they stay in line. I do for the collar because it's so long, but don't bother for the cuffs. Up to you.
Next you'll need to do a little measuring. Take your first cuff (both pieces) and wrap it around your wrist so that the excess fabric of the seam allowance is divided evenly on both ends:
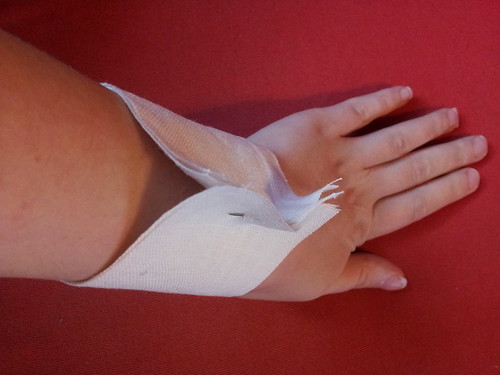 |
| You don't need to pin anything at this point - I've pinned the ends together because I can't hold a loop shut and take a photo at the same time. |
Fold the excess fabric first to one side and then the other, keeping the loop pinched tight against your wrist. Use your fingers to press hard on this fold and create a crease.
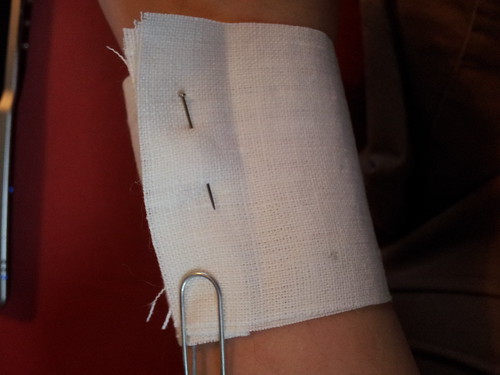 |
| Same deal with the paperclip - it's a photography aid, not an instruction. |
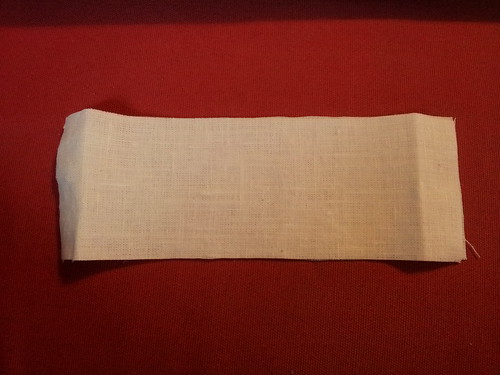
Unwrap the cuff from your wrist. You now have a cuff with a vertical crease at either end. The creases mark the finished circumference of the cuff.
The next step is to sew the two pieces together. If your cuffs are embroidered, you are going to sew them together at the edge you want to be closest to your hand!
 |
| We're sewing the seam on the side of the cuff where my hand is. |
Using running stitch, sew in a straight line from one crease to the other about half an inch in from the long edge.
For the second cuff, you can skip wrapping it around your wrist and pinching - just use the vertical creases from the first cuff as a template. Sew the second cuff's seam in the same manner.
At this point, you're done with the sewing, but there's still a fair bit of pressing to do. First, press open the seam you've just made.
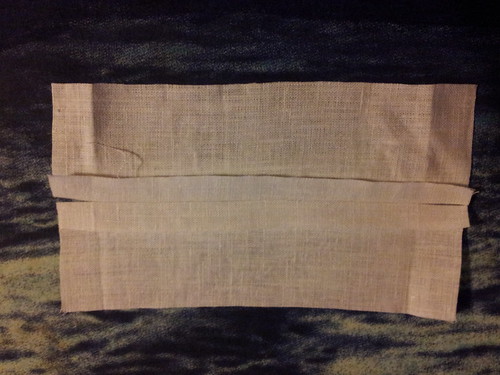
Next, turn the cuff so that the seam allowances are on the inside and press it flat along the fold.
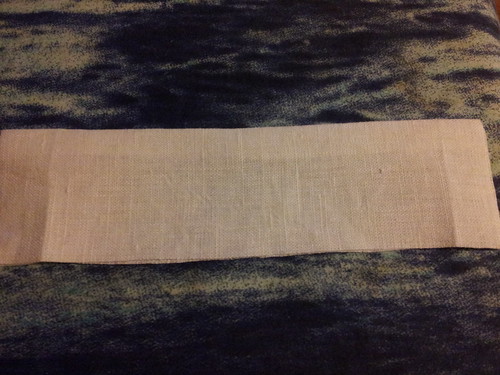
Next, open it back up and lay it flat with the right side facing down into the ironing board. Fold the short ends of the cuffs in, along the creases that you folded in earlier.
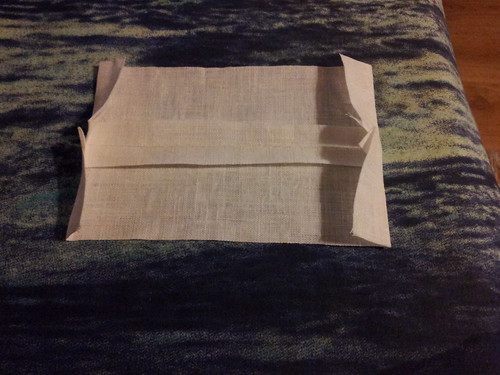
Close the cuff back up and press along the short sides and at the top corners. There's a lot of fabric folded up here, so be careful that your corners remain square.
Next, open it up yet again and fold half an inch of each of the long open edges in.
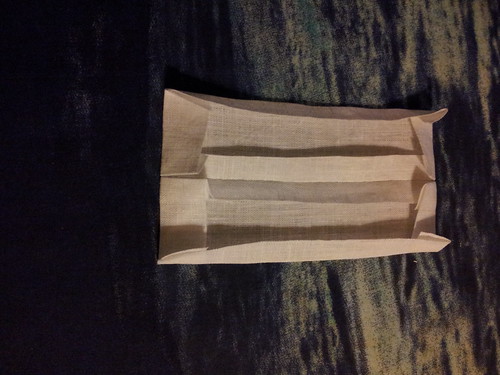
Finally, close the cuff back up and give it one last good press, paying special attention to the corners.
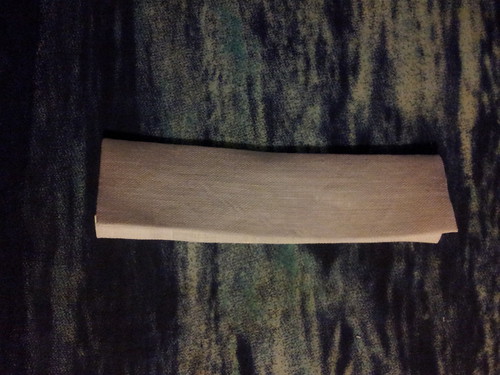
Press the second cuff, and then assemble and press the collar.
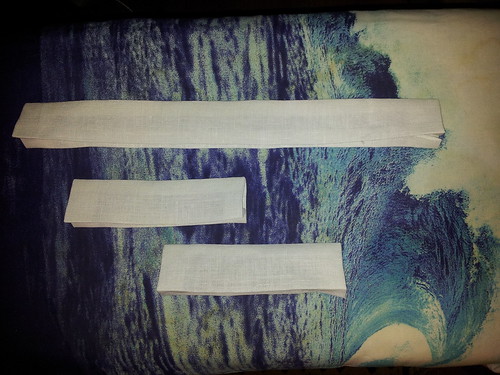
You won't do anything else with the collar and cuffs until it's time to attach them to the shirt body and sleeves respectively, so put them somewhere safe so that they won't get crumpled (but not so safe you can't find them).
No comments:
Post a Comment