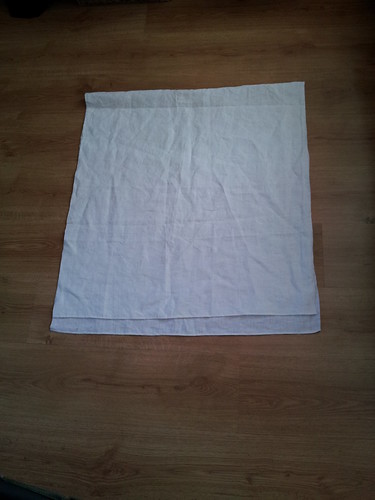
Press the fabric you're using for the shirt body. You can either use a single length of fabric for both the front and the back of the shirt body, or if your fabric is too short you can use two pieces joined at the shoulder. There are extant shirts in both styles. I'm using a single piece for my shirt, but I'll do instructions for both styles anyway. Check for flaws in the linen before you decide which section to use for the front: it's a pain having to either work around them or pick out and redo your work.
If you're using two separate pieces for the front and back, pin them together at the shoulders. If you're using a single length of fabric, fold it so that the back panel is longer than the front. Precise lengths on extant shirts vary, but what I've found works best is having the front panel end just above the knee and having the back end just below it. Hem the two short ends so that they don't fray.
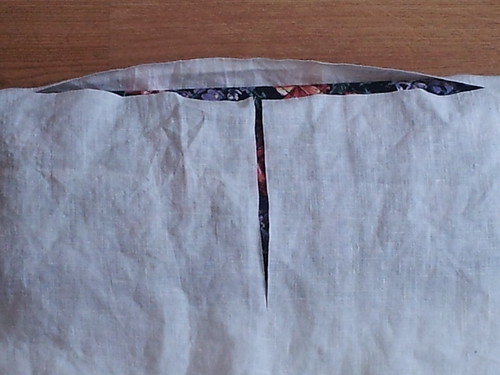
The neck opening is T-shaped, with the horizontal line across the shoulders and the vertical coming down the front. Find the centre of the front panel (the easiest way is to just fold the fabric in half). Cut the front opening as long as you're comfortable wearing it - to the base of the breastbone is about right, but if you're uncomfortable with the Seventies sex god look or will be wearing a bra underneath, cut it shorter. I'm cutting mine six-and-a-half inches long.
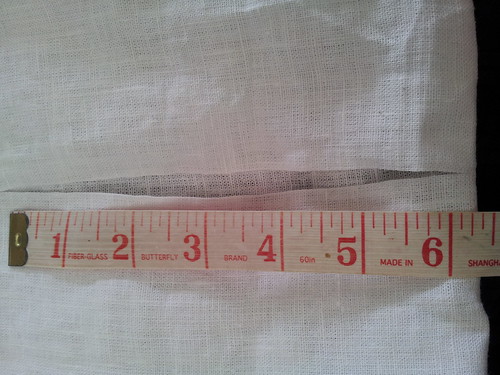
If the shirt is in one piece, cut the horizontal openings. These should be about half the distance from the centre of the shirt to the shoulder. Conveniently for me, this distance is also about six-and-a-half inches.
If the shirt is in two pieces, use running stitch to sew the shoulders together, leaving the centre of the two pieces open the same length as the cuts indicated above.
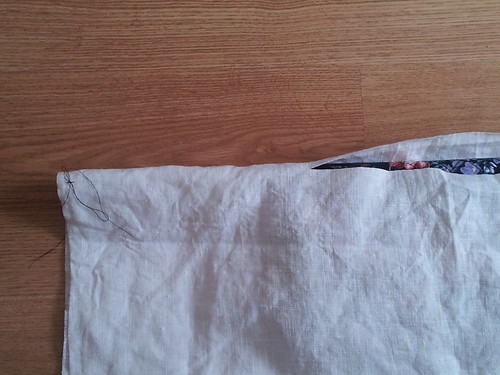
Once you've cut the horizontal openings, follow the line of the cuts to the edge of the shirt and mark it with either a pin or basting thread. It's nothing to do with the collar, but when you attach the sleeves you can centre them on the marks. Much easier than faffing around with the finished collar trying to make sure the sleeves are attached in the same place on both sides.
(This step is only applicable if you're making a one-piece shirt. A two-piece shirt has built-in markings from the shoulder seams.)
At this point you have a choice. You can either leave the neck opening as a T-shape, or you can trim it to give it more of a curve. Both options appear in extant shirts. I prefer the T-shape because it's easier to sew fabric that's been cut straight on the grain.
If you're making a two-piece shirt, press the shoulder seams open so that they lay flat. Hem the sides of the neck opening. (Make sure you're making the inside of the hem on the same side as the hems on the short edges!)
 |
| The bottom of the slit is a bugger to hem. |
No comments:
Post a Comment